Troubleshooting the frustrating issue of Windows being unable to connect to the Group Policy Service can be a daunting task for users. In this article, we will explore potential causes and effective solutions to resolve this connectivity problem efficiently.
Methods to Set Group Policy Client Service to Automatic and Fix Registry Settings
To set the Group Policy Client Service to Automatic and fix registry settings, follow these steps:
1. Press the Windows Key + R to open the Run dialog box.
2. Type “regedit” and press Enter to open the Registry Editor.
3. In the Registry Editor, navigate to HKEY_LOCAL_MACHINE\SYSTEM\CurrentVersion\Svchost.
4. Locate the GPSvc service registry key and double-click on it.
5. In the properties window, go to the Security tab.
6. Click on the Advanced button and then select the Owner tab.
7. Click on the Edit button and select the Administrators group as the new owner.
8. Check the box that says “Replace owner on subcontainers and objects” and click OK.
9. Close the properties window and navigate to HKEY_LOCAL_MACHINE\SYSTEM\CurrentControlSet\Services\gpsvc.
10. Right-click on the gpsvc key and select Permissions.
11. Ensure that the Administrators group has Full Control access.
12. Close the Registry Editor.
By following these steps, you should be able to set the Group Policy Client Service to Automatic and fix any registry settings related to the Windows Couldn’t Connect to the Group Policy Service error.
Resolving Windows Couldn’t Connect to the Group Policy Client Service Error: System Restore, SFC, and DISM
- Open Start Menu and type System Restore in the search bar.
- Select Create a restore point from the search results.
- In the System Protection tab, click on System Restore.
- Click Next and select a restore point before the error occurred.
- Click Next and then Finish to start the restoration process.
- Follow the on-screen instructions to complete the restoration and restart your computer.
Repair Method 2: SFC (System File Checker)
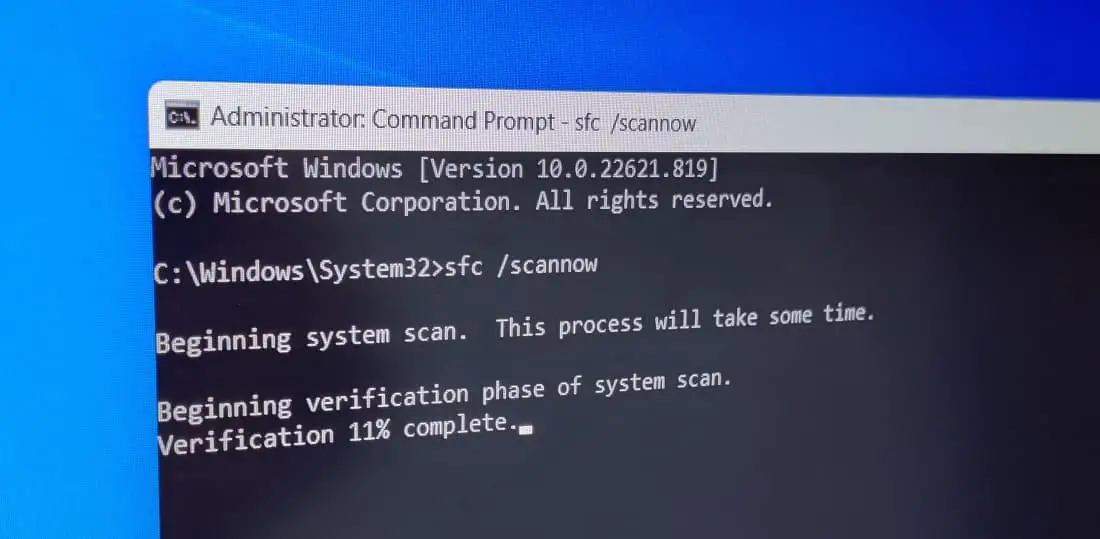
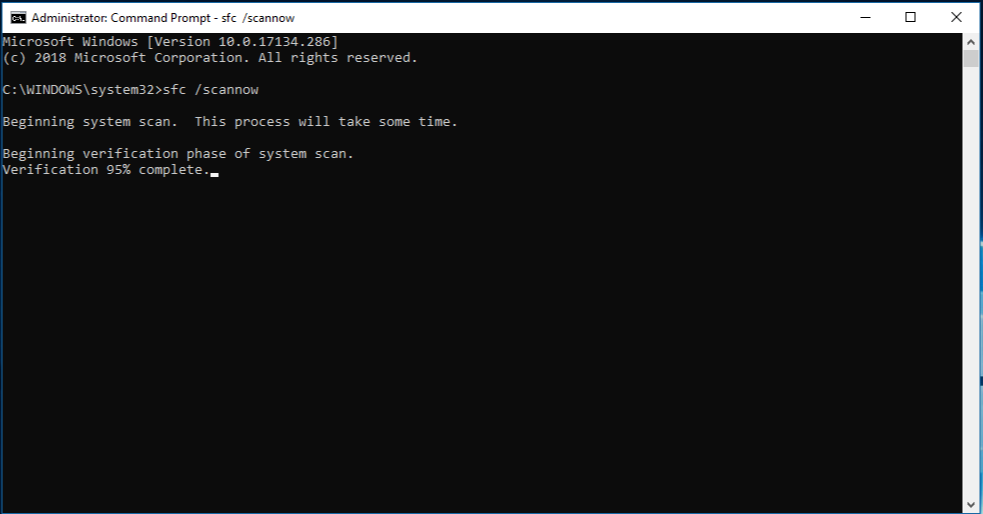
- Open Command Prompt as an administrator.
- Type sfc /scannow and press Enter.
- Wait for the scanning process to complete.
- If any corrupted system files are found, the SFC tool will automatically repair them.
- Once the process is finished, restart your computer.
Repair Method 3: DISM (Deployment Image Servicing and Management)
- Open Command Prompt as an administrator.
- Type dism /online /cleanup-image /restorehealth and press Enter.
- Wait for the DISM tool to scan your system and repair any issues.
- After the process is completed, restart your computer.
Troubleshooting Windows Update Settings and Turning off Fast Startup for Group Policy Client Service
Troubleshooting Windows Update Settings and Turning off Fast Startup for Group Policy Client Service
In this article, we will discuss how to fix the “Windows couldn’t connect to the Group Policy service” error by troubleshooting Windows Update settings and turning off Fast Startup for the Group Policy Client Service.
Troubleshooting Windows Update Settings
If you are experiencing issues with the Group Policy service, it is recommended to ensure that your Windows Update settings are configured correctly. Follow the steps below to troubleshoot Windows Update settings:
| Step | Description |
|---|---|
| 1 | Open the Windows Settings |
| 2 | Click on “Update & Security” |
| 3 | Go to the “Windows Update” tab |
| 4 | Click on “Advanced options” |
| 5 | Ensure that the settings are configured correctly |
| 6 | Restart your computer |
Turning off Fast Startup for Group Policy Client Service
Another potential solution for the “Windows couldn’t connect to the Group Policy service” error is to turn off Fast Startup for the Group Policy Client Service. Follow the steps below to disable Fast Startup:
| Step | Description |
|---|---|
| 1 | Open the Control Panel |
| 2 | Click on “Power Options” |
| 3 | Click on “Choose what the power buttons do” |
| 4 | Click on “Change settings that are currently unavailable” |
| 5 | Uncheck the “Turn on fast startup (recommended)” option |
| 6 | Save the changes and restart your computer |
By following the troubleshooting steps mentioned above, you should be able to fix the “Windows couldn’t connect to the Group Policy service” error and regain access to the Group Policy settings on your Windows system.
powershell

$serviceName = "gpsvc"
$service = Get-Service -Name $serviceName -ErrorAction SilentlyContinue
if ($service) {
Write-Host "Group Policy Service is running."
} else {
Write-Host "Group Policy Service is not running."
}
Please note that this code snippet only checks the availability of the Group Policy Service on a local machine. It does not address the specific error you mentioned or provide a comprehensive solution.
If you’re experiencing issues with the Group Policy Service, I recommend consulting official Microsoft documentation, seeking assistance from IT professionals, or posting your specific problem on dedicated technical support forums for more accurate and effective troubleshooting.
Fixing Group Policy Client Service through Registry Editor and Control Panel
To fix the “Windows Couldn’t Connect to the Group Policy Service” error, you can try using the Registry Editor and Control Panel. Here’s how:
1. Open the Registry Editor by pressing Windows Key + R, typing “regedit”, and pressing Enter.
2. Navigate to the “HKEY_LOCAL_MACHINE\SYSTEM\CurrentControlSet\Services\gpsvc” registry key.
3. Right-click on the “gpsvc” key and select “Permissions”.
4. Make sure that the “SYSTEM” and “Administrators” accounts have Full Control permissions.
5. If they don’t, click on “Add” and enter “SYSTEM” and “Administrators” to grant them full control.
6. Click “Apply” and “OK” to save the changes.
Next, follow these steps:
1. Open the Control Panel and go to “Administrative Tools”.
2. Double-click on “Services” to open the Services window.
3. Scroll down and locate the “Group Policy Client” service.
4. Right-click on it and select “Properties”.
5. Make sure the service is set to “Automatic” startup type.
6. If the service is not running, click on “Start” to start it.
These methods should help resolve the “Windows Couldn’t Connect to the Group Policy Service” error.