Facing a perplexing dilemma with your Windows XP system? Discover the disconcerting issue of missing or corrupt System32 files, which can disrupt your computer’s performance. Brace yourself as we delve into the depths of this intriguing problem and explore potential solutions to restore your beloved operating system to its former glory.
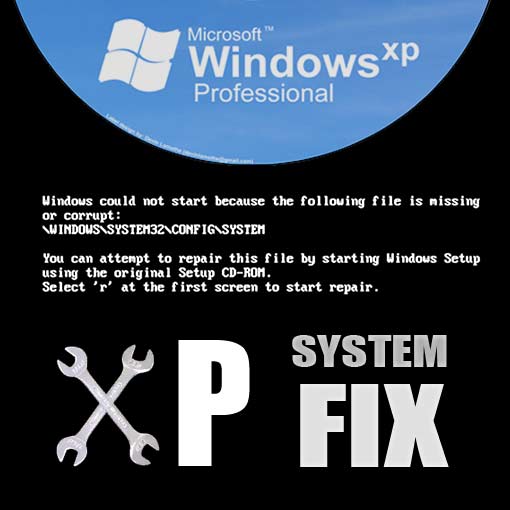
Understanding the error message: “\WINDOWS\SYSTEM32\CONFIG\SYSTEM is missing or corrupt”
If your Windows XP system is displaying the error message “\WINDOWS\SYSTEM32\CONFIG\SYSTEM is missing or corrupt,” it means that an important system file has become damaged or deleted. This error can prevent your PC from starting properly and may lead to data loss.
To fix this issue, you will need a Windows XP startup CD or a USB drive with the necessary files. Follow these steps:
1. Insert the startup CD or USB drive into your PC/laptop.
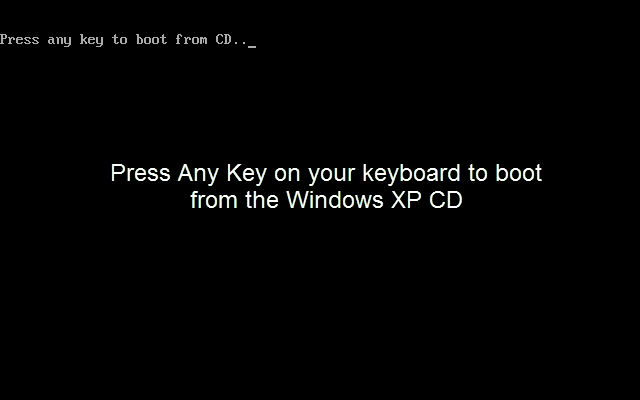
2. Restart your computer and press any key to boot from the CD or USB drive.
3. Choose “R” to enter the recovery console.
4. Type cd \windows\system32\config and press Enter.
5. Rename the “SYSTEM” file to “SYSTEM.old” by typing ren SYSTEM SYSTEM.old.
6. Type copy \windows\repair\system and press Enter.
7. Restart your computer.
This should fix the missing or corrupt system file error. If you still experience issues, consult Microsoft’s Knowledgebase or contact a professional technician for further assistance.
Causes of the missing or corrupt system file error
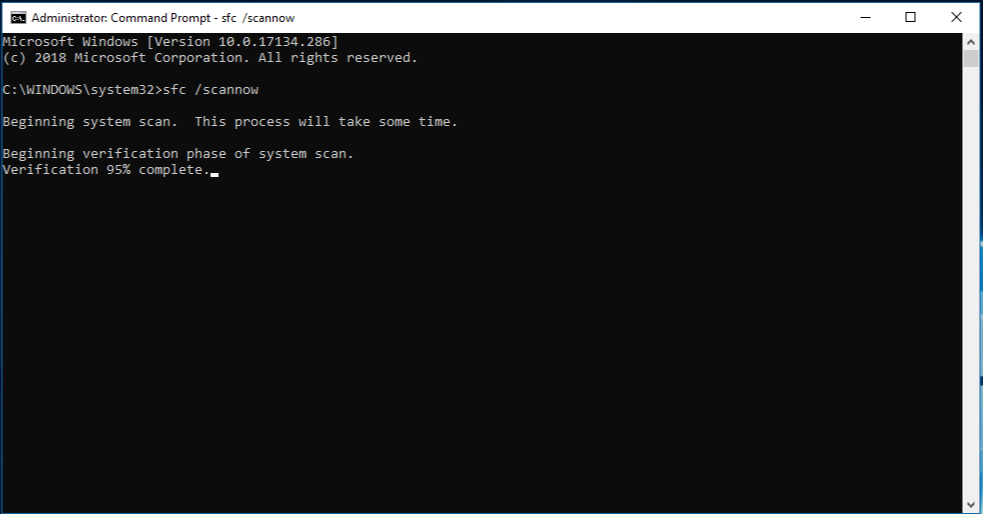
- Run System File Checker (SFC) tool
- Open Command Prompt as an administrator by clicking on Start and typing cmd in the search box. Right-click on Command Prompt and select Run as administrator.
- Type sfc /scannow in the Command Prompt window and press Enter.
- Wait for the system file checker to scan and repair any missing or corrupt system files.
- Perform a Windows XP Repair Install
- Insert the Windows XP installation disc into the CD/DVD drive of your computer.
- Restart your computer and press any key when prompted to boot from the CD/DVD.
- Follow the on-screen instructions to initiate the Windows XP installation.
- When prompted, select Repair to perform a repair installation.
- Follow the remaining prompts and allow the repair installation to complete.
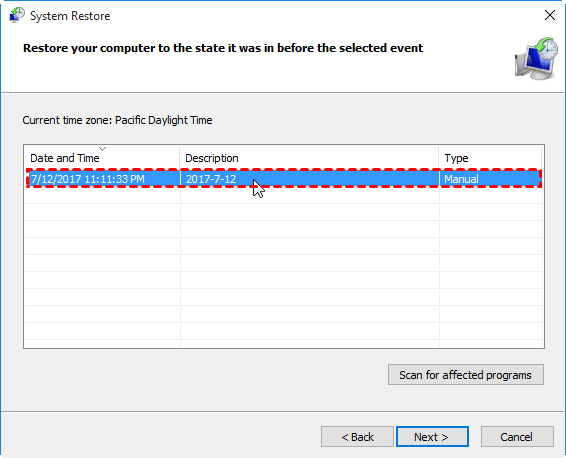
- Use System Restore
- Click on Start and go to All Programs.
- Go to Accessories and then System Tools.
- Select System Restore.
- Choose a restore point before the error occurred and follow the instructions to restore your system.
- Reinstall Windows XP
- Backup all important files and data from your computer.
- Insert the Windows XP installation disc into the CD/DVD drive.
- Restart your computer and press any key when prompted to boot from the CD/DVD.
- Follow the on-screen instructions to initiate the Windows XP installation.
- Select Install Windows and follow the prompts to reinstall the operating system.
Solutions to fix the error on Windows XP
- Insert the Windows XP installation CD into the CD/DVD drive and restart the computer.
- Press any key when prompted to boot from the CD.

- Wait for the Windows Setup screen to appear.
- Press “R” to enter the Recovery Console.
- Select the Windows XP installation that needs to be repaired by typing the corresponding number.
- Enter the Administrator password if prompted.
- Once in the Recovery Console, type the following command: expand d:\i386\hal.dl_ c:\windows\system32\hal.dll (replace “d:” with the correct drive letter if your CD/DVD drive is assigned a different letter).
- Press “Y” when asked to overwrite the file.
- Type exit and press Enter to restart the computer.
Solution 2: Replace the System32 files manually
- Boot the computer using a Windows XP installation CD or a bootable USB drive.
- When prompted, press any key to boot from the CD or USB.
- Choose the appropriate language, keyboard layout, and click “Next”.
- Click on “Repair your computer”.

- Select the Windows XP installation and click “Next”.
- Click on “Command Prompt” to open the Command Prompt window.

- Type the following command: copy d:\i386\ntldr c:\ (replace “d:” with the correct drive letter if your CD/DVD drive is assigned a different letter).
- Press Enter to execute the command.
- Type the following command: copy d:\i386\ntdetect.com c:\ (again, replace “d:” with the correct drive letter).
- Press Enter to execute the command.
- Type exit and press Enter to restart the computer.
Additional steps for troubleshooting the error
If you are experiencing the error message “Windows XP System32 File Missing or Corrupt,” follow these additional troubleshooting steps to resolve the issue:
1. Use the Windows XP Pro or Windows 2000 installation CD to boot your computer.
2. At the error screen, press “R” to enter the Recovery Console.
3. Type the command “cd \” to change to the root directory of the hard drive.
4. Enter the command “cd system32\config” to navigate to the Config directory.
5. Rename the SOFTWARE file by typing “ren software software.old” and hit Enter.
6. Type “copy \cdrom\i386\software %systemroot%\system32\config” to copy a new SOFTWARE file from the CD drive.
7. Restart your computer and let it load the new settings.
8. If the error persists, it may indicate a hardware issue. Contact a technician for further assistance.
For more information and fixes, visit our Knowledgebase or consult with a professional.
Related articles and resources for further assistance
- How to repair System32 file errors in Windows XP: A step-by-step guide to fixing missing or corrupt System32 files in Windows XP using various troubleshooting methods.
- Performing a System Restore in Windows XP: Learn how to use System Restore to revert your computer’s settings to a previous working state, effectively resolving System32 file errors.
- Reinstalling Windows XP without losing data: Discover the process of reinstalling Windows XP while preserving your personal files and applications, ensuring a clean system without sacrificing important data.
- Understanding the Windows XP Recovery Console: Dive into the Recovery Console, a powerful command-line tool in Windows XP that can help repair System32 file issues and other critical system errors.
- Using Windows XP Repair Install: Explore the Repair Install option in Windows XP, which allows you to reinstall the operating system while keeping your data intact, resolving various system file errors.